
Remember those delightful days when you’d rush to the cafeteria for lunch, your heart set on a gooey, sweet treat? Well, let me tell you, the smell of these classic peanut butter lunch lady cookie bars takes me back! It’s like a warm hug from nostalgia. Honestly, who can resist a thick, chewy bar loaded with creamy peanut butter goodness? I first made these cookie bars for my kids’ school bake sale, and they vanished faster than I could say “lunch lady!”
This recipe has become a staple in our home, especially because it’s so easy to whip up! You’ll love how simple it is to combine just a handful of ingredients to create something so delicious. These cookie bars are perfect for lunch boxes, after-school snacks, or even cozy afternoon treats with a cup of tea or coffee. Plus, they’re a hit with both kids and adults alike, making them the ultimate crowd-pleaser.
So, grab your mixing bowl and let’s get baking! These classic peanut butter lunch lady cookie bars are just what your dessert cravings ordered.
Why You’ll Love This Recipe
Let me tell you why this classic peanut butter lunch lady cookie bars recipe is a must-try! It’s not just about the taste; it’s about the experience. I’ve made these bars so many times, and each time they bring smiles and happy memories. Here’s why you’ll adore them:
- Quick & Easy: This recipe is a breeze! You can have these delicious bars ready in under 30 minutes, perfect for those busy weeknights or last-minute cravings.
- Simple Ingredients: No need for any fancy ingredients. You likely have everything in your pantry already, which makes this recipe even more appealing!
- Perfect for Any Occasion: These bars are great for lunchboxes, after-school snacks, or even potlucks and parties. Everyone will love them!
- Crowd-Pleaser: I can’t tell you how many rave reviews I’ve gotten from both kids and adults. They just disappear!
- Unbelievably Delicious: The combination of chewy texture and rich peanut butter flavor is comfort food at its finest!
This isn’t just another cookie recipe. This version stands out because of its thick, soft texture that reminds you of those school cafeteria treats. It’s comfort food reimagined—easy, satisfying, and with that nostalgic kick that makes you close your eyes after the first bite. Plus, it’s stress-free! You won’t have to worry about rolling out dough or frosting a cake—just mix, bake, and enjoy.
Ingredients Needed
This classic peanut butter lunch lady cookie bars recipe uses simple, wholesome ingredients to deliver bold flavor without the fuss. Here’s what you’ll need:
- 1 cup unsalted butter, softened (for richness)
- 1 cup granulated sugar (for sweetness)
- 1 cup brown sugar, packed (for moisture and depth of flavor)
- 1 cup creamy peanut butter (use your favorite brand)
- 3 large eggs, room temperature (for binding)
- 2 teaspoons vanilla extract (for flavor)
- 3 cups all-purpose flour (for structure)
- 1 teaspoon baking soda (for lift)
- 1/2 teaspoon salt (to balance sweetness)
- 1 cup chocolate chips (optional, but recommended for extra indulgence)
These ingredients are pantry staples, which means you can whip up these bars anytime the craving hits! If you’re looking for a gluten-free option, you can substitute the all-purpose flour with your favorite gluten-free flour blend. It works beautifully!
Equipment Needed
To make these classic peanut butter lunch lady cookie bars, you’ll need a few basic kitchen tools:
- Mixing Bowl: A large bowl for combining all your ingredients.
- Electric Mixer: While you can mix by hand, an electric mixer makes this process so much easier.
- 9×13-inch Baking Pan: This is the perfect size for the bars, giving them that chewy texture.
- Spatula: For spreading the dough evenly in the pan.
- Measuring Cups and Spoons: Accurate measurements are key to baking success!
If you don’t have an electric mixer, a sturdy whisk will do the trick. Trust me, I’ve been there! Just be prepared for a bit of a workout.
Preparation Method
Now that we have everything ready, let’s dive into the preparation of these delicious cookie bars. Follow these simple steps:
- Preheat your oven: Preheat your oven to 350°F (175°C). Grease or line your 9×13-inch baking pan with parchment paper.
- Mix the wet ingredients: In a large mixing bowl, cream together the softened butter, granulated sugar, and brown sugar using an electric mixer on medium speed until light and fluffy (about 2-3 minutes).
- Add the peanut butter: Add in the creamy peanut butter and continue to mix until well combined. Next, beat in the eggs one at a time, followed by the vanilla extract.
- Combine dry ingredients: In another bowl, whisk together the all-purpose flour, baking soda, and salt. Gradually add the dry ingredients to the wet mixture, mixing until just combined. If using chocolate chips, fold them in at this stage.
- Spread and bake: Pour the batter into the prepared baking pan, spreading it evenly. Bake in the preheated oven for 20-25 minutes or until the edges are golden brown and a toothpick inserted in the center comes out clean.
- Cool and cut: Once baked, remove from the oven and allow to cool in the pan for about 10 minutes before transferring to a wire rack. Let cool completely before cutting into bars.
Trust me, the aroma wafting through your kitchen will have everyone rushing to see what you’re baking! And pro tip: Letting them cool before cutting ensures you get those perfect bars without any crumble.
Cooking Tips & Techniques
Here are a few tips I’ve learned over the years to ensure your cookie bars turn out perfectly every time:
- Don’t overmix: When combining the dry and wet ingredients, mix just until incorporated. Overmixing can lead to dense bars.
- Room temperature ingredients: Make sure your eggs and butter are at room temperature before mixing. This helps create a smoother batter!
- Cooling time: Allow the bars to cool completely before cutting. This might be the hardest part, but it’s worth it!
- Testing doneness: Keep an eye on your bars towards the end of the baking time. Every oven is different, and you want them just set, not overbaked.
I can’t tell you how many times I’ve learned these lessons the hard way! So, trust me, these tips will help you achieve that perfect texture.
Variations & Adaptations
While this classic peanut butter lunch lady cookie bars recipe is fabulous as is, here are some fun variations you can try:
- Crunchy Peanut Butter: Swap out creamy peanut butter for crunchy peanut butter for a delightful texture contrast.
- Add Nuts: Mix in chopped peanuts or your favorite nuts for extra crunch and flavor.
- Switch the Chips: Instead of chocolate chips, try butterscotch or white chocolate chips for a different flavor profile.
- Make it Healthy: You can use whole wheat flour instead of all-purpose for a heartier version.
Feel free to get creative! I once added a sprinkle of sea salt on top before baking, and it took these bars to a whole new level!
Serving & Storage Suggestions
When it comes to serving these peanut butter lunch lady cookie bars, you can enjoy them warm or at room temperature. They pair beautifully with a glass of cold milk or a steaming cup of coffee! Here are some tips for serving and storing:
- Presentation: Cut them into squares or rectangles, and dust with powdered sugar for a pretty touch.
- Storage: Store any leftovers in an airtight container at room temperature for up to a week. They also freeze well for up to three months!
- Reheating: If you prefer them warm, pop them in the microwave for about 10-15 seconds.
As the days go by, the flavors meld beautifully, making them even more delicious! Trust me; you’ll want to make a double batch.
Nutritional Information & Benefits
These classic peanut butter lunch lady cookie bars not only satisfy your sweet tooth but also provide some nutritional benefits:
- Rich in Protein: Peanut butter is a great source of protein, helping keep you fuller for longer.
- Healthy Fats: The healthy fats in peanut butter can support heart health.
- Energy Boost: Perfect for kids and adults alike needing a quick energy boost!
Remember to enjoy these bars in moderation, especially if you’re watching your sugar intake. But I say, treat yourself every now and then!
Conclusion
In summary, these classic peanut butter lunch lady cookie bars are absolutely worth trying! They’re quick, easy, and oh-so-delicious! I love how they bring back memories while satisfying my cravings for something sweet. Don’t hesitate to customize based on your preferences—add nuts, switch up the chocolate, or even try a healthier version.
I can’t wait to hear how your batch turns out! Leave a comment below with your thoughts or any variations you’ve tried. Let’s keep the conversation going! Happy baking!
FAQs
- Can I use natural peanut butter? Yes, you can, but it may alter the texture slightly. Natural peanut butter tends to be thinner, so you might need to adjust the flour.
- How do I store leftovers? Store them in an airtight container at room temperature for up to a week or freeze them for up to three months.
- Can I make these bars gluten-free? Absolutely! Substitute the all-purpose flour with a gluten-free flour blend.
- Can I freeze the cookie bars? Yes! These cookie bars freeze well. Just make sure they are wrapped tightly in plastic wrap or stored in an airtight container.
- What can I substitute for eggs? You can use flax eggs or applesauce as a substitute for eggs if you’re vegan or have an egg allergy.
Pin This Recipe!
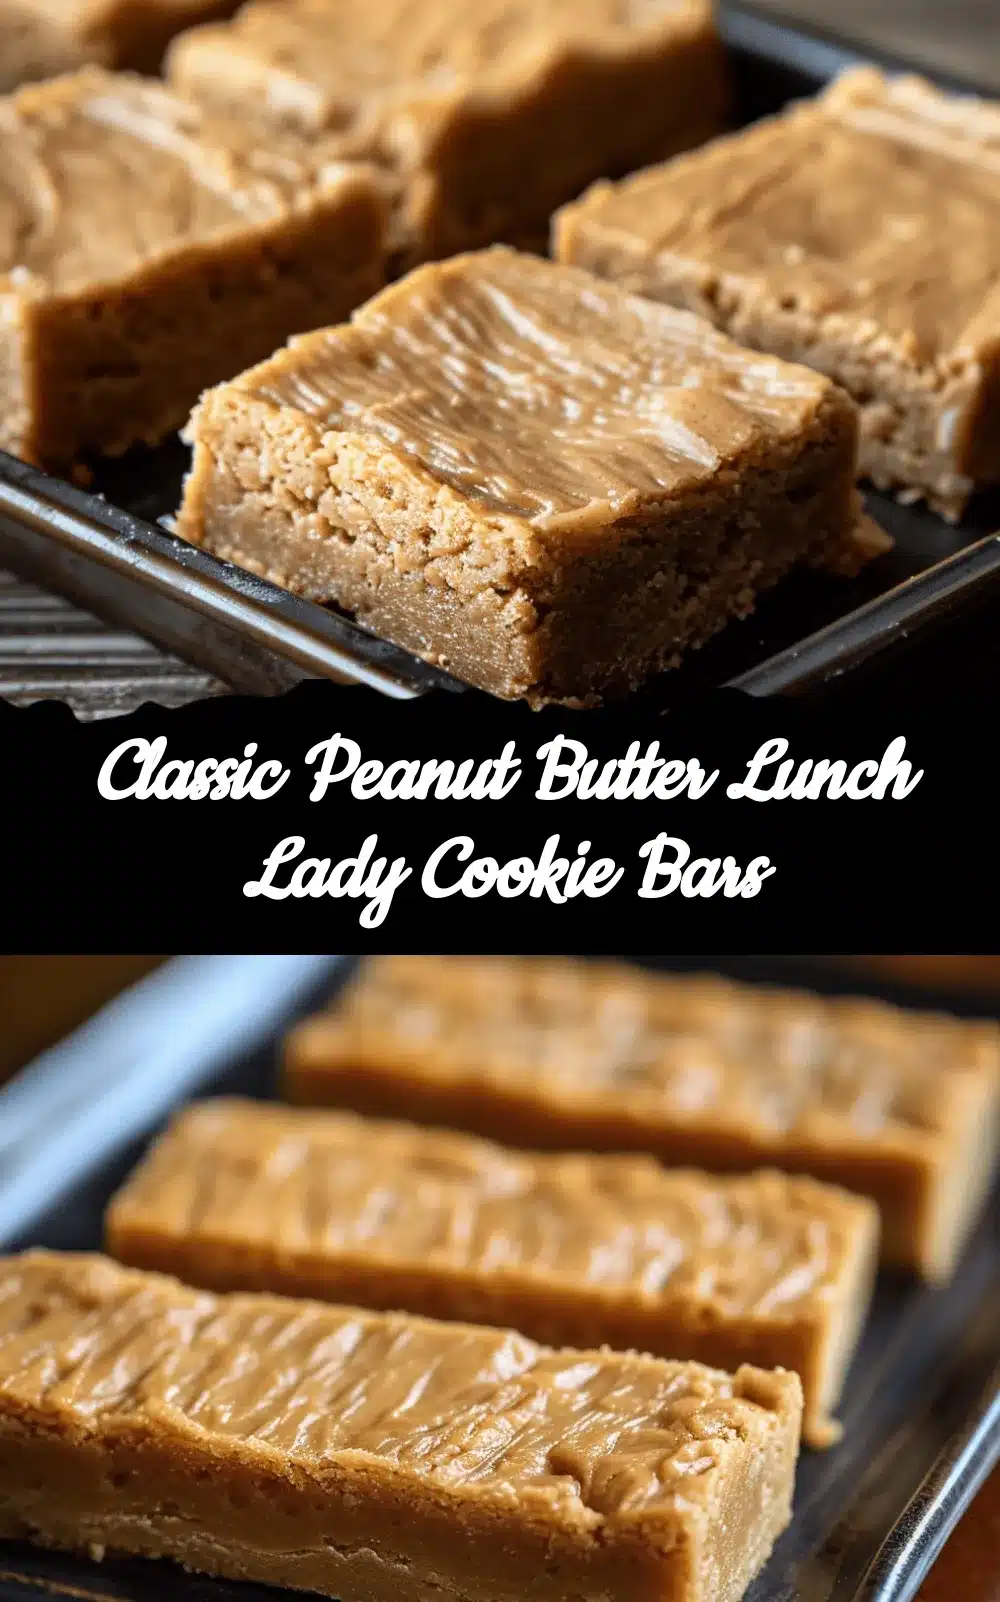

Classic Peanut Butter Lunch Lady Cookie Bars – Easy 5-Step Recipe
- Total Time: 35 minutes
- Yield: 12 servings 1x
Description
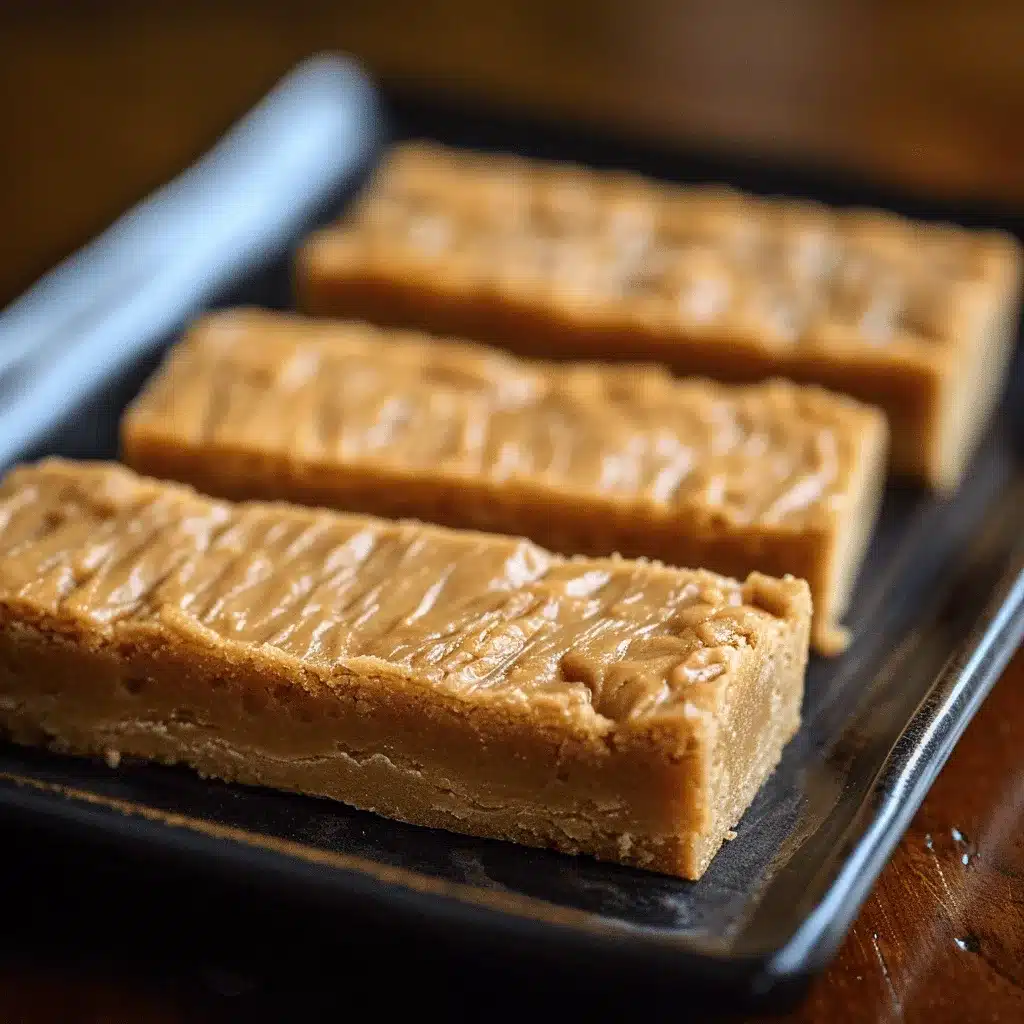
These classic peanut butter lunch lady cookie bars are thick, chewy, and loaded with creamy peanut butter goodness, making them a nostalgic treat for both kids and adults. Perfect for lunch boxes or cozy afternoon snacks.
Ingredients
- 1 cup unsalted butter, softened
- 1 cup granulated sugar
- 1 cup brown sugar, packed
- 1 cup creamy peanut butter
- 3 large eggs, room temperature
- 2 teaspoons vanilla extract
- 3 cups all-purpose flour
- 1 teaspoon baking soda
- 1/2 teaspoon salt
- 1 cup chocolate chips (optional)
Instructions
- Preheat your oven to 350°F (175°C). Grease or line your 9×13-inch baking pan with parchment paper.
- In a large mixing bowl, cream together the softened butter, granulated sugar, and brown sugar using an electric mixer on medium speed until light and fluffy (about 2-3 minutes).
- Add in the creamy peanut butter and continue to mix until well combined. Next, beat in the eggs one at a time, followed by the vanilla extract.
- In another bowl, whisk together the all-purpose flour, baking soda, and salt. Gradually add the dry ingredients to the wet mixture, mixing until just combined. If using chocolate chips, fold them in at this stage.
- Pour the batter into the prepared baking pan, spreading it evenly. Bake in the preheated oven for 20-25 minutes or until the edges are golden brown and a toothpick inserted in the center comes out clean.
- Once baked, remove from the oven and allow to cool in the pan for about 10 minutes before transferring to a wire rack. Let cool completely before cutting into bars.
Notes
Letting the bars cool completely before cutting ensures you get those perfect bars without any crumble.
- Prep Time: 10 minutes
- Cook Time: 25 minutes
- Category: Dessert
- Cuisine: American
Nutrition
- Serving Size: 1 bar
- Calories: 250
- Sugar: 20
- Sodium: 150
- Fat: 12
- Saturated Fat: 6
- Carbohydrates: 34
- Fiber: 1
- Protein: 4
Keywords: peanut butter, cookie bars, dessert, easy recipe, nostalgic


